From a sketch to a garment, in nine steps.
From a drawing on paper to a pattern you print, test on a toile and sew. This is every step, and what happens in each.
- 1
Upload the sketch
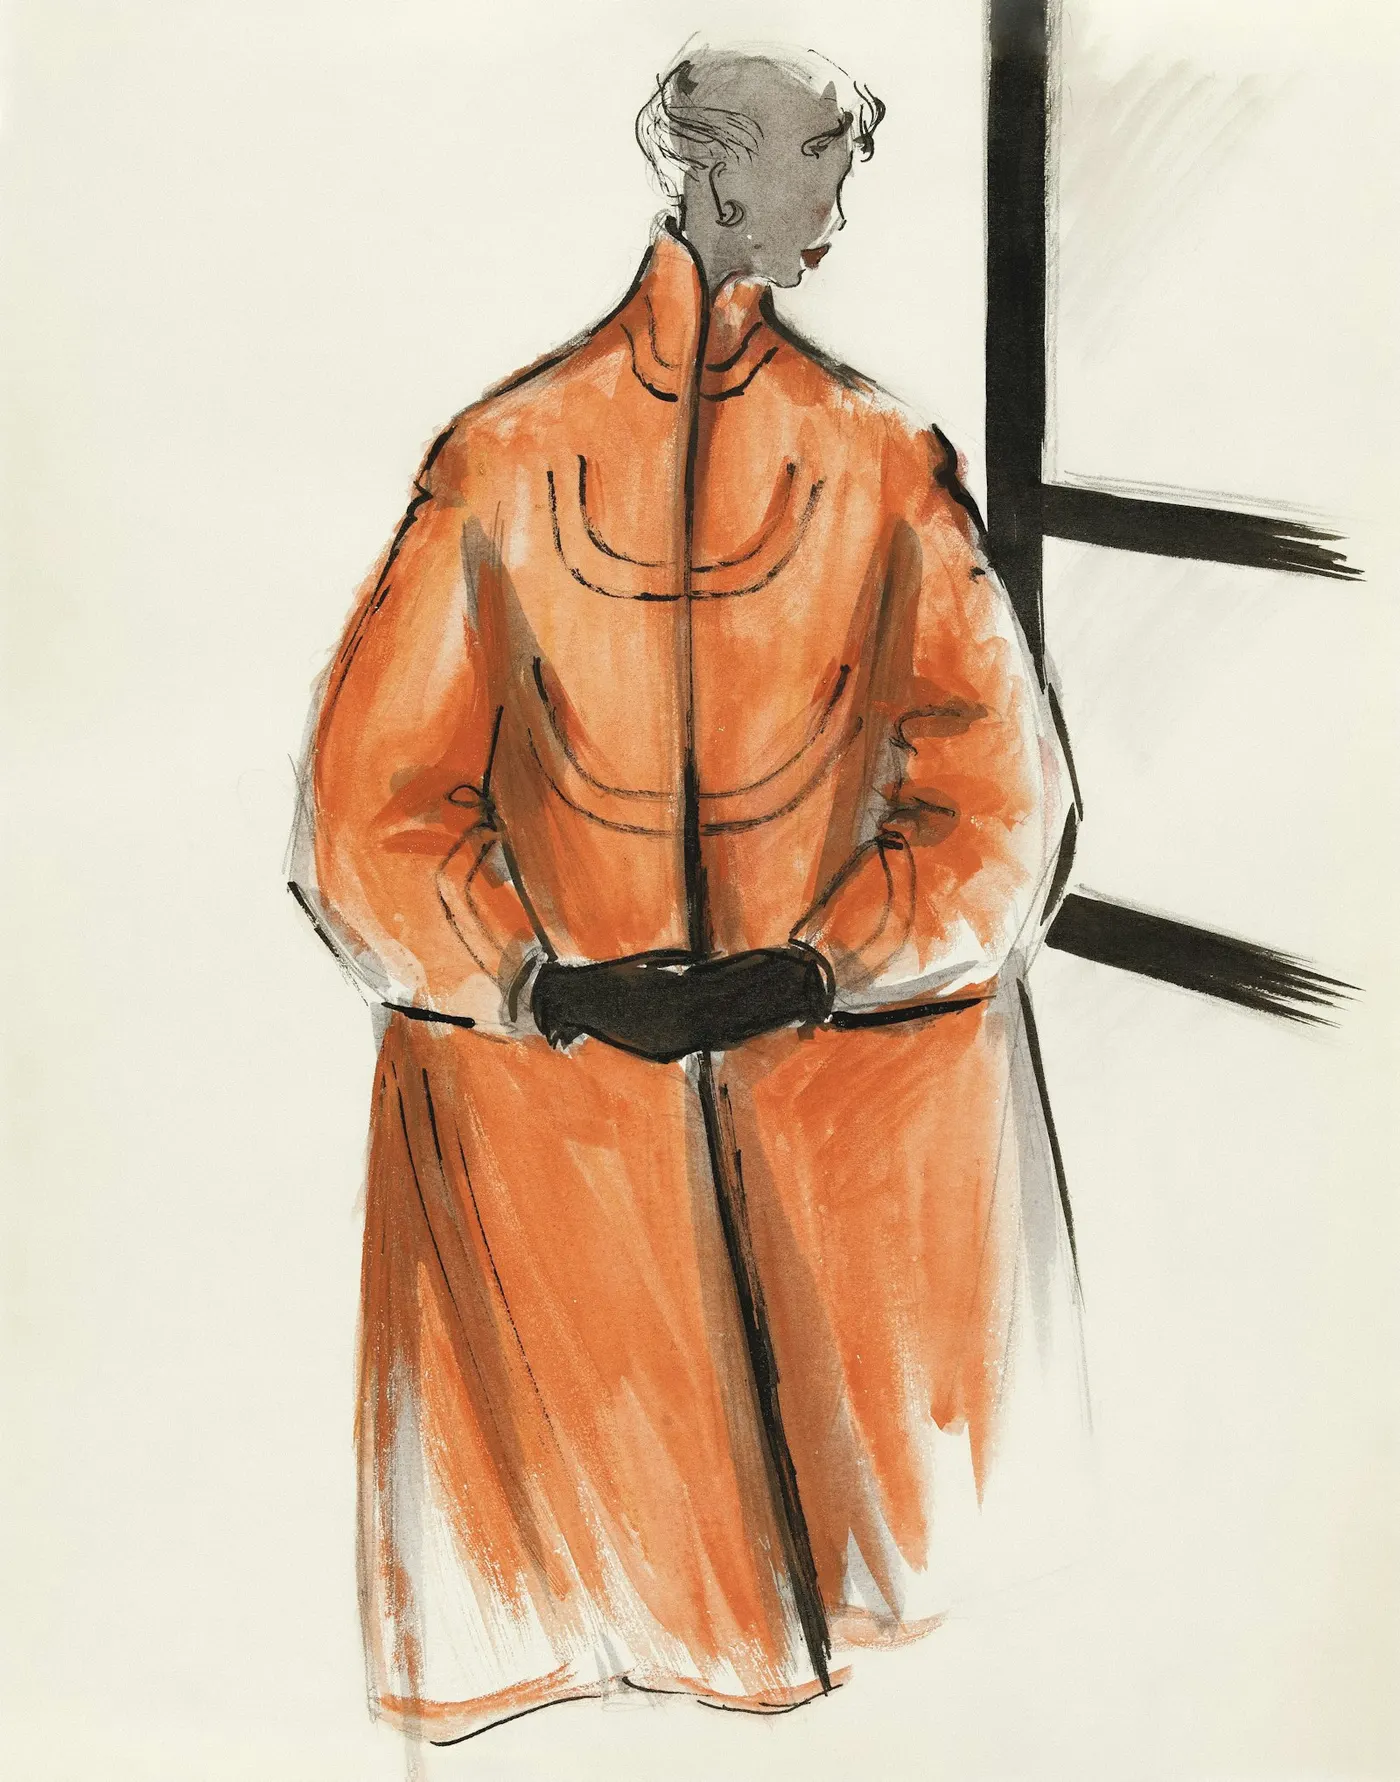
Start with a front view of the garment: a drawing, or a photo of one. Take the photo flat, from above, in even light. Styli finds the sheet of paper, straightens it and removes the table behind it.
Most sketches show only the front. Styli then works out the back the way a pattern maker would (a plain back, a centre-back zip when the garment can't pass over the body) and lists what it assumed. If the back is different, add a back view.
- 2
Name the garment and the material
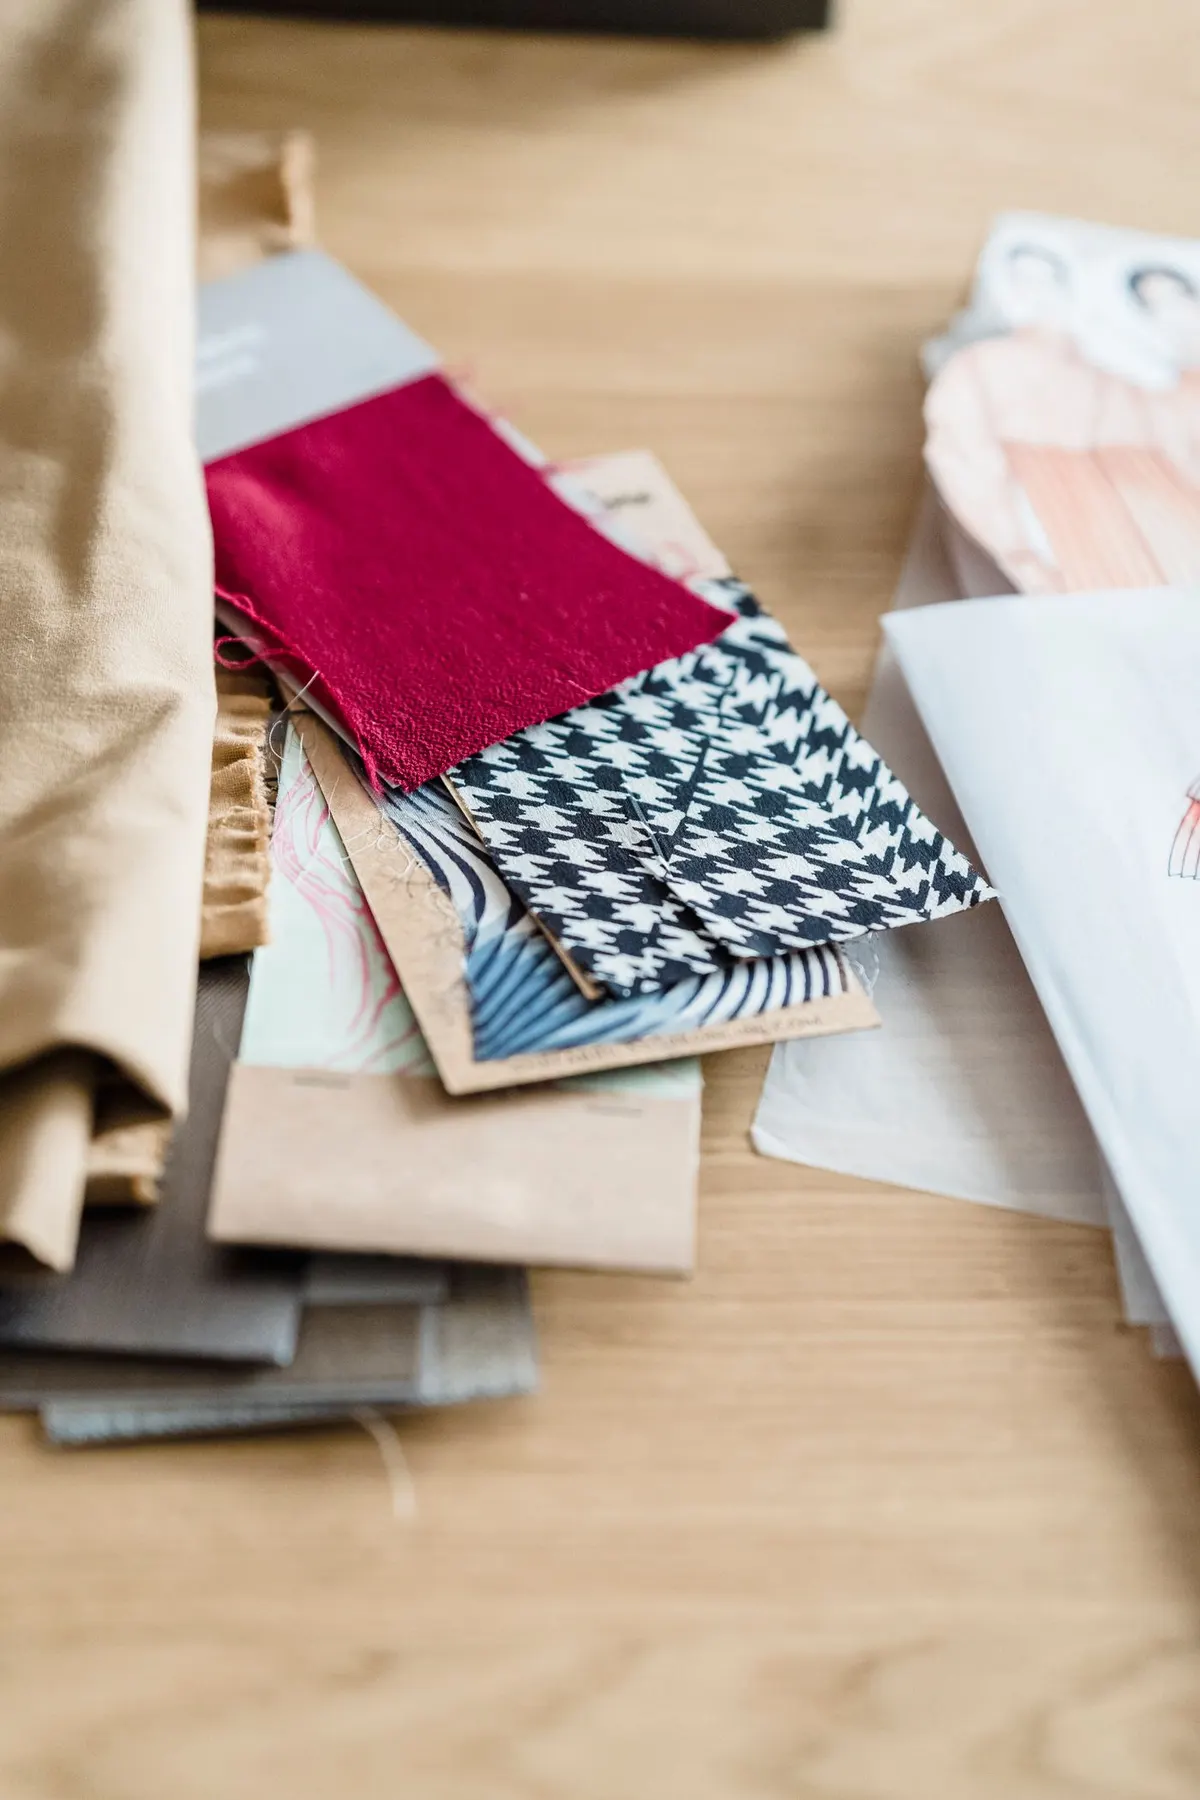
Say which garment to pattern in your own words (blazer, jeans, boiler suit), one or two from the same sketch. Then name the material as precisely as you can: fibre, weave and weight.
The material changes the pattern: how much room it needs to move, the seam allowances, the hems and the way it is sewn. A stretch knit and a stiff wool need different patterns for the same body.
Finally, describe what the drawing can't show: the back, the closure, the lining, pockets, anything hidden by an arm or a fold. You can also choose shoulder pads here (thin, medium or strong) and the shoulder is drafted to take them.
Material
Wool crepe, about 280 g per square metre
- 3
Add the measurements
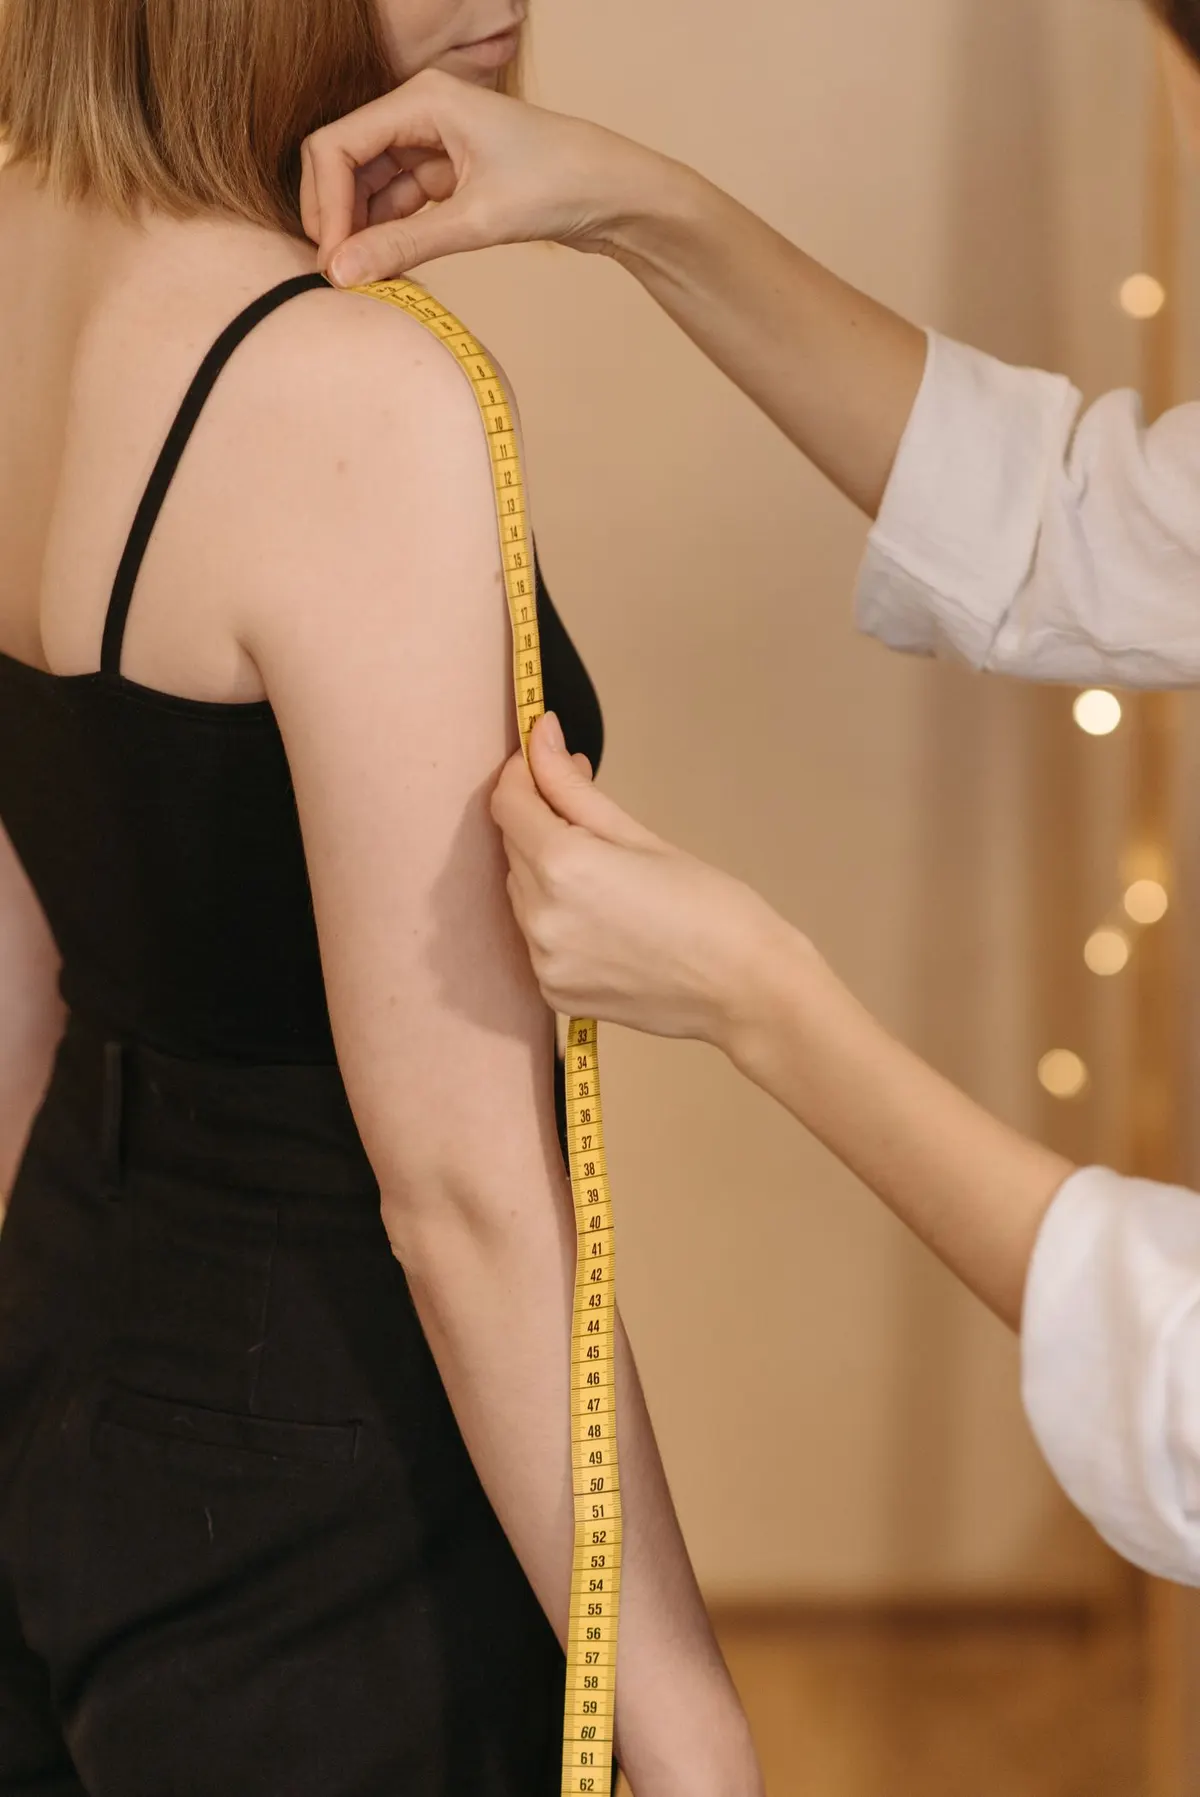
Use a saved profile, pick a standard size (S, M, L, women's EU 32 to 50, men's EU 44 to 60), or type values in. A standard size fills every measurement; anything you leave out is estimated from the closest typical body and listed under the pattern.
Always measure the body, never a garment: the pattern decides the ease.
Measurements are never sent to the AI.
- 4
Styli reads the design
The AI reads the sketch, the material and your description: the silhouette, the neckline and collar, sleeves, closures, seams and details, and what the drawing implies about how it is built. It sends the reading, not the drawing, on to drafting.
A second step agrees the finished sizes against your body: how much room at the chest, waist and hip for this fit and this material, and where the design adds fullness. When something essential is unclear, Styli asks, with choices. Under the pattern, From sketch to pattern lists every change made to turn the drawing into something that works in cloth.
What it reads
- Silhouette
- Neckline
- Collar
- Sleeves
- Closures
- Seams
- Pockets
- Fullness
- Material
Not your measurements. Those stay with you.
- 5
The pattern is drafted
The pieces are drafted by Styli's own rules, in your browser: front and back, sleeves, collars, facings, waistbands, pockets and linings, with seam allowances for your material, grainlines, notches and placement marks.
Complicated pieces are cut into parts (up to ten), each with its own seam allowance and matching notches, printed on its own sheets. Zips are drawn along their seams with the length to buy. Corsets get boned panels and a shopping list. When a design goes beyond a flat pattern, Styli drafts the wearable base and explains how to build the rest.
Before you see the pattern, every seam is measured against the one it joins: shoulders, side seams, sleeve cap and armhole, collar and neckline.
A dress drafted by Styli for a standard EU 38 body.
- 6
The fit report and the toile
Every pattern comes with a fit report: each finished measurement against the body, the room it leaves, the least the fabric needs to move, and pass or fix. It checks that the armhole lets the arm lift and the rise lets you sit.
Then sew a toile, a test version in cheap fabric. Styli lists the tests to do in it (raise your arms, sit, take a stride, turn your head in a tall collar), with what passing looks like and what to change. Tick the tests that failed and Styli redraws the pattern with the fix.
Fit report
Fit report of a dress drafted by Styli for a standard EU 38 body, in cm Where Body Finished Result Chest 88 95 Pass Waist 70 74.2 Pass Hip 96 105.6 Pass Upper sleeve 27 32.4 Pass A dress for a standard EU 38 body, in cm.
- 7
Adjust the pattern
Change the length, chest, waist, hip, upper sleeve, sleeve length, armhole depth, thigh or rise by the centimetre. Styli draws the pattern again, with every seam matched, without reading the sketch again. Changes are always counted from the first draft, and one button takes you back to it.
Try it
Length+3 cmHip+2 cmSleeve length−1 cm - 8
Print it, or send it on
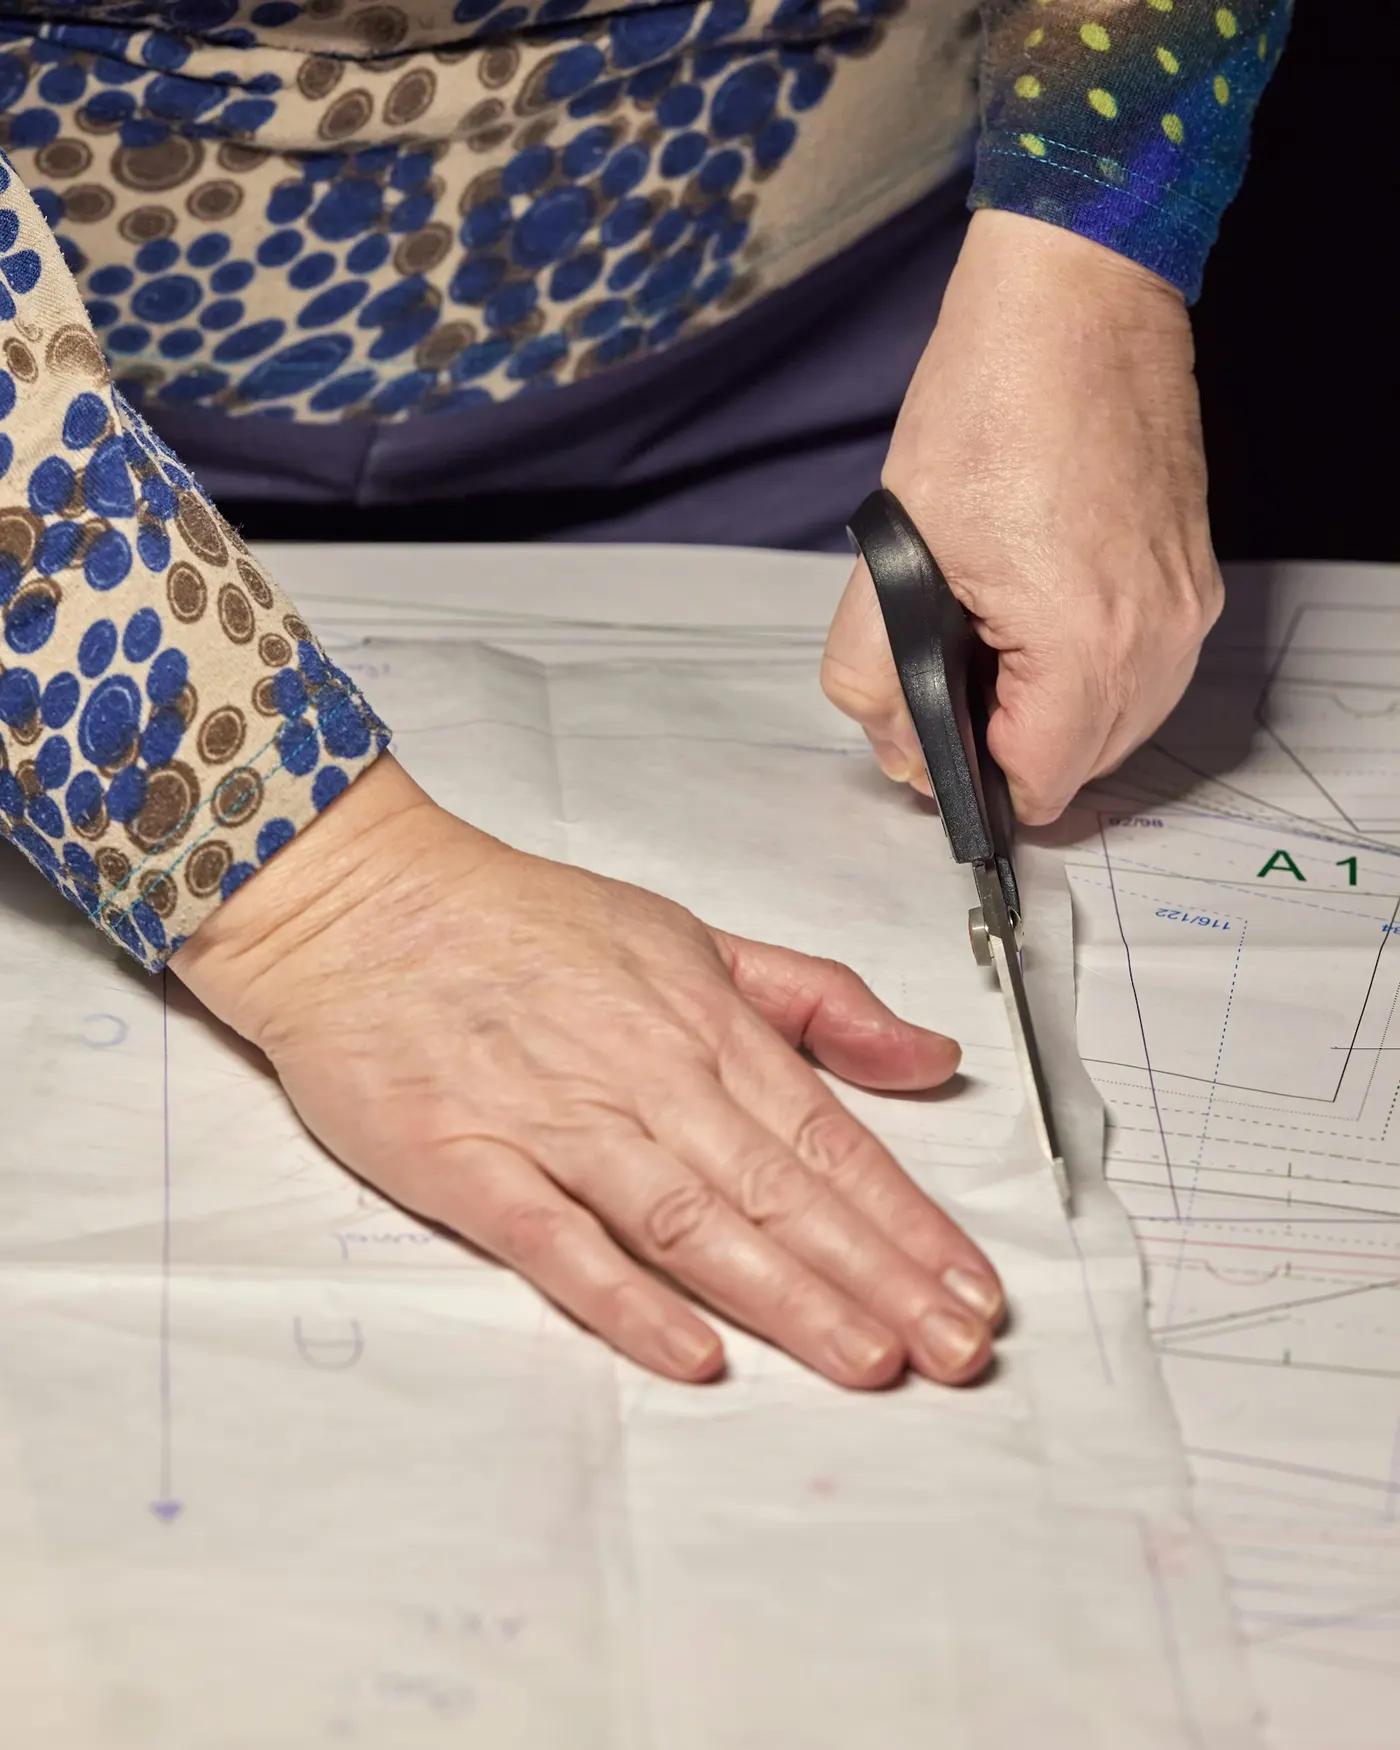
- Home printer
- A4 or Letter, tiled with targets and a 5 cm test square on every sheet. Print at 100%, never Fit to page.
- Copy shop
- A0, or a 91 cm plotter roll, for far fewer sheets.
- Projector
- The whole pattern at true size, light lines on black, with a square and a ruler to set the scale.
- CLO 3D and pattern CAD
- AAMA DXF for CLO 3D, Gerber, Lectra and Optitex, with notches, grainlines and stitching lines; or plain DXF.
- Graded sizes
- The same design drafted for a range of EU sizes, nested on one pattern.
- 9
Sew it
The PDF closes with how to make the garment, in phases. Each step names only pieces the pattern really has, in the order a sewer needs them.
- 1Test the fit on a toile
- 2Prepare and cut
- 3Sew
- 4Finish
- 5Add embroidery, trims or hardware
What Styli drafts today
- Garments
- Tops, shirts, dresses, skirts, trousers, jumpsuits, jackets, coats, capes and corsets.
- Made without a pattern
- Sarongs, ponchos, kaftans, bandeaus, chitons, stoles and scarves, head wraps, sashes and kimonos: Styli works out the rectangles from your measurements and shows how to make them.
- Necklines and collars
- Round, scoop, V, square, boat, high and one-shoulder necklines (a cowl is drafted as its base, with how to drape it). Stand, funnel, shirt and notched lapel collars, with the support a tall collar needs.
- Sleeves
- Set-in, dropped and raglan; plain, cuffed, gathered or puffed. Very full caps are pleated into the armhole and held up with a puff support.
- Seams and details
- Darts, princess and panel seams, yokes, pockets (patch, slant, in-seam, welt and flap), vents, slits, plackets, belts, linings and zips, drawn where they go.
- Structure
- Shoulder pads and sleeve heads when the shoulder is raised, and interfacing, canvas or bones for a standing collar.
- Beyond a pattern
- When a design goes further than a flat pattern can (a sculpted drape, an unusual fold), Styli drafts the wearable base and explains how to build the rest on the stand or as fabric manipulation.
Getting the most precise pattern
A pattern is only as exact as what goes into it. These are the things that matter, from most to least.
- 1
Measure carefully, twice
Wear thin clothes or underwear. Stand straight and relaxed, feet together. Keep the tape level and snug, not tight. Ask someone to help: you can't measure your own back or shoulders alone. Measure twice. If the two numbers differ, measure a third time.
- 2
Measure more than the minimum
Styli estimates what you leave out from the closest typical body, but every measurement you give is one less thing estimated. For tops and dresses add shoulder width, neck to bust line, across back, nape to waist and armhole depth. For trousers, measure the rise seated on a hard chair, and the inseam on the body, not from a pair of trousers.
- 3
Do not round much
Write down the number you read, to the nearest half centimetre at most. Rounding to the nearest 5 cm moves a pattern more than people expect.
- 4
Name the material exactly
Write the fibre, weave and weight, for example 'wool crepe, about 280 g per square metre' instead of 'fabric'. The material changes the ease, the seam allowance and how the garment is sewn. A stretch fabric and a stiff one need different patterns for the same body.
- 5
Describe what the drawing can't show
The back, closure, lining, pockets and any detail hidden by an arm or a fold. Anything not drawn and not described is left out or assumed.
- 6
Give it a clear sketch
A front view, drawn straight on, with the whole garment inside the page and nothing overlapping the body outline. Dark line on plain paper, in even light, photographed flat from above. A busy background or a tilted page costs accuracy. If the back is not plain, add a back view, or describe the back in the description.
- 7
Check the answers Styli asks
When a question appears, the choice you make changes the shape. Read the options rather than clicking through.
- 8
Read the 'From sketch to pattern' list
It states every change made to turn the drawing into something that works. If you disagree with one, say so in the description and make the pattern again.
- 9
Print exactly
Use Actual size or 100%, and measure the 5 cm square on every sheet. Printers differ, and one sheet can differ from another. If a sheet is off, reprint it.
- 10
Always sew a toile
Make the pattern first in cheap fabric of a similar weight and drape. Check the fit on the body, mark what to change, and write it in the piece's making notes. Fit is only ever confirmed in fabric. Change the measurements or the description, make the pattern again, and cut the real fabric last.
When a pattern doesn't fit as expected, change one thing at a time, in this order: the measurement, the material, the description, then the sketch.